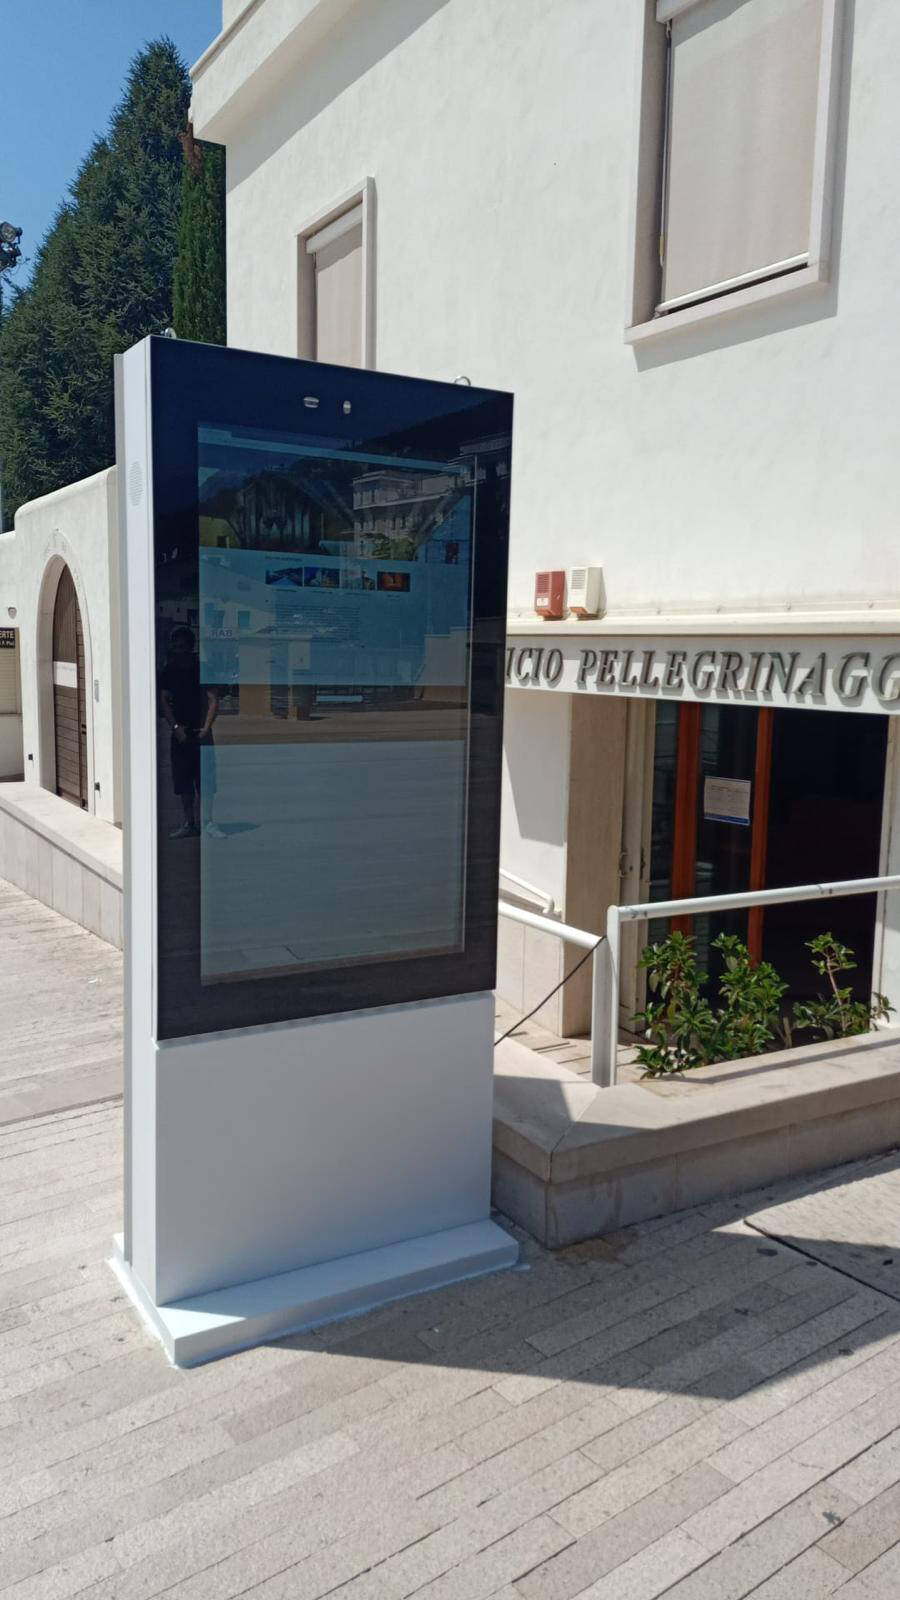
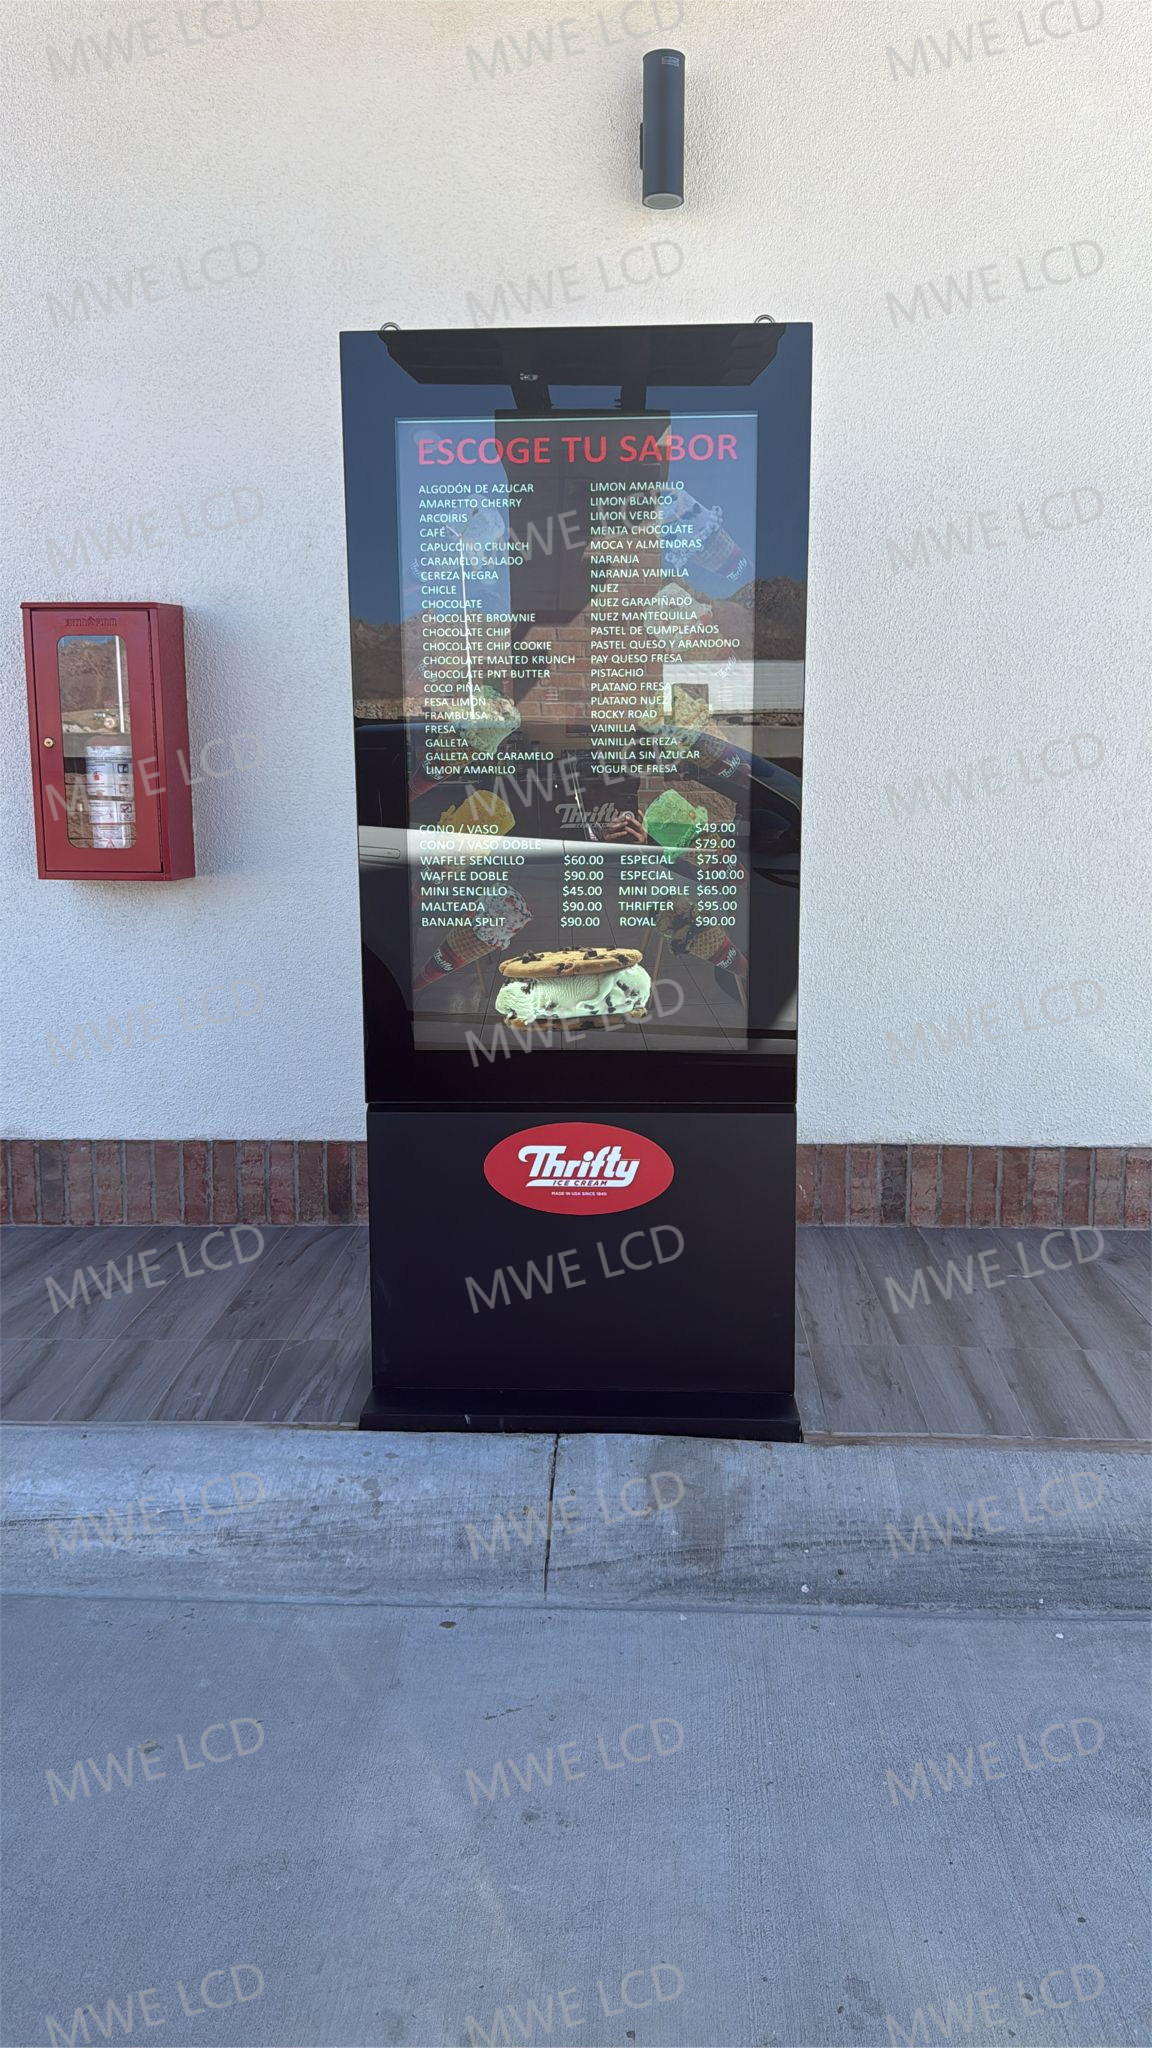
Installing an embedded outdoor wall-mounted LCD advertising machine requires careful planning and execution to ensure the display is secure, weatherproof, and fully functional in an outdoor environment. An “embedded” installation typically means the display is recessed into the wall, making it flush with the surface, rather than simply mounted on it. Below is a general step-by-step guide based on common practices for such installations. Note that specific instructions may vary depending on the manufacturer, so always refer to their guidelines as well.
Step-by-Step Installation Guide
- Select a Suitable Location
- Choose a wall where the display will be highly visible to your intended audience.
- Consider environmental factors such as direct sunlight (which can affect visibility and heat buildup), weather exposure (rain, wind, etc.), and accessibility for maintenance.
- Ensure the wall is structurally sound and capable of supporting the display’s weight.
- Prepare the Wall
- Measure the dimensions of the LCD advertising machine to determine the size of the recess needed.
- Create a recess in the wall that matches these dimensions. This may involve cutting into materials like concrete, brick, or drywall, requiring professional tools (e.g., saws, drills) and expertise.
- Verify that cutting the recess does not compromise the wall’s structural integrity.
- Install a Mounting Frame
- Secure a sturdy frame or housing within the recess to hold the display. This frame acts as the support structure.
- Ensure the frame is level, firmly anchored, and capable of bearing the display’s weight, accounting for outdoor conditions like wind or vibrations.
- Mount the Display
- Carefully place the LCD advertising machine into the mounting frame.
- Attach it securely, ensuring the screen is flush with the wall surface for a seamless embedded appearance.
- Follow the manufacturer’s instructions for fastening the display to the frame.
- Connect Cables
- Run power and data cables (e.g., for network connectivity or content updates) to the display.
- Route cables through weatherproof conduits or channels to protect them from moisture and damage.
- Connect the cables to the display according to the manufacturer’s specifications, ensuring all connections are secure and insulated.
- Seal the Installation
- Apply waterproof sealants or membranes around the edges of the recess to prevent water, dust, or debris from entering the wall cavity.
- Ensure proper ventilation within the recess to dissipate heat generated by the display, while maintaining weatherproofing.
- This step is critical for outdoor installations to protect the electronics.
- Test the Display
- Power on the LCD advertising machine and confirm it operates correctly.
- Check the screen display, audio (if applicable), and any connected systems (e.g., content management software) to ensure full functionality.
- Secure the Display
- Use lockable mounts, tamper-proof screws, or other security features to prevent theft or vandalism, which is especially important for outdoor public installations.
- Verify that the display is firmly in place and resistant to external forces.
Additional Considerations
- Professional Installation: Due to the complexity of creating a wall recess, ensuring structural safety, and weatherproofing, it’s highly recommended to hire professional installers experienced with outdoor digital signage. Many manufacturers or suppliers offer installation services, which can ensure the job is done correctly.
- Outdoor Rating: Confirm that the LCD advertising machine is designed for outdoor use, typically indicated by an IP65 rating (or similar), meaning it’s dust-tight and resistant to water jets.
- Manufacturer Guidance: Contact the manufacturer or refer to the product manual for specific instructions tailored to your device, as some may include unique mounting hardware or requirements.
Conclusion
Installing an embedded outdoor wall-mounted LCD advertising machine involves recessing the display into a wall, securing it within a frame, and protecting it from the elements. While the steps above provide a general framework, the process requires technical skill and attention to detail, particularly for outdoor durability. For best results, enlist professional help and consult the manufacturer’s support team to ensure a successful installation.